Manual Scheduling In Kubernetes
Last Updated :
15 Sep, 2025
The Kubernetes Scheduler is the control plane's master strategist, determining the best home for every Pod within the cluster. While its automated, two-stage process of filtering and scoring is incredibly powerful, there are times when a user might need to take direct control.
Automated Scheduler
For 99% of workloads, you'll rely on the default Kubernetes scheduler. It's a highly intelligent component that watches for new Pods and assigns them to the best possible Node in a two-stage process.
Stage 1: Filtering
In this stage, the scheduler finds a set of feasible Nodes where the Pod could run. It applies a series of tests, called predicates. If a Node fails any of these tests, it is removed from consideration for this Pod.
Common filters include:
- PodFitsResources: Does the Node have enough available CPU and memory to satisfy the Pod's resource requests?
- PodFitsHostPorts: If the Pod requests to bind to a specific port on the Node, is that port already in use?
- NodeSelector: Does the Node have the labels specified in the Pod's
nodeSelector field? - Taints and Tolerations: A Node can be "tainted" to repel certain Pods. This check ensures the Pod has a "toleration" for the Node's taints.
If no nodes pass the filtering stage, the Pod remains in a Pending state until a suitable Node becomes available.
Stage 2: Scoring
After filtering, the scheduler might have a list of several feasible Nodes. In the scoring stage, it ranks these Nodes from best to worst to find the most suitable one. It does this by applying a set of priority functions.
Common scoring rules include:
- LeastRequestedPriority: Favors Nodes that are less utilized. This strategy helps to spread workloads evenly across the cluster.
- ImageLocalityPriority: Gives a higher score to Nodes that already have the container image the Pod needs, leading to faster Pod startup.
- NodeAffinity / Anti-Affinity: These are advanced rules that attract or repel Pods based on Node labels (e.g., "prefer Nodes with SSD storage").
- PodAffinity / Anti-Affinity: Considers other Pods already running on the Nodes (e.g., "try to run this frontend Pod on the same Node as its cache").
The Node with the highest final score is chosen, and the scheduler binds the Pod to that Node.
Manual Scheduling with nodeName
What if you want to bypass the scheduler entirely? Kubernetes provides a direct, albeit rigid, way to do this using the nodeName field in the Pod specification.
When you specify a nodeName, you are telling the Kubernetes control plane, "Do not run the scheduler for this Pod. I command you to run it on this exact Node.
Steps To Schedule Pods Manually In Kubernetes
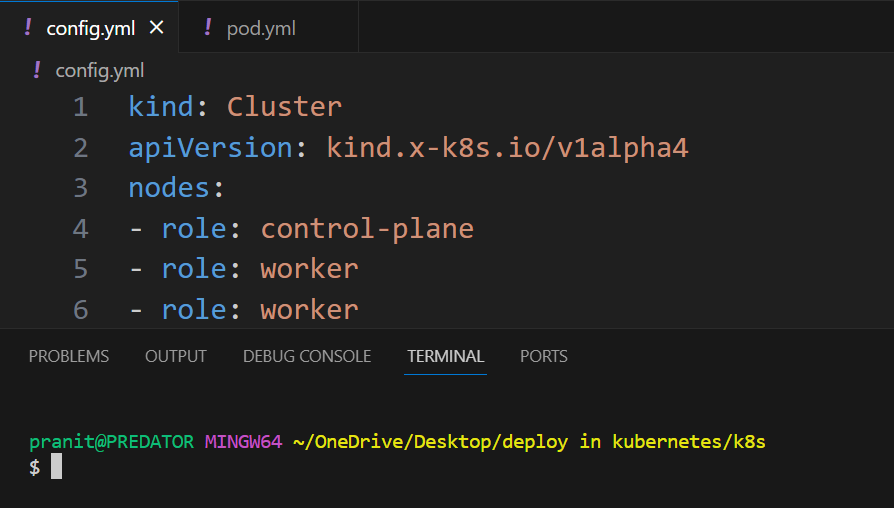
Step 1: First create a config file for kind to create a cluster . Here mention the number of worker nodes you want to create in the cluster.
config.yml
kind: Cluster
apiVersion: kind.x-k8s.io/v1alpha4
nodes:
- role: control-plane
- role: worker
- role: worker
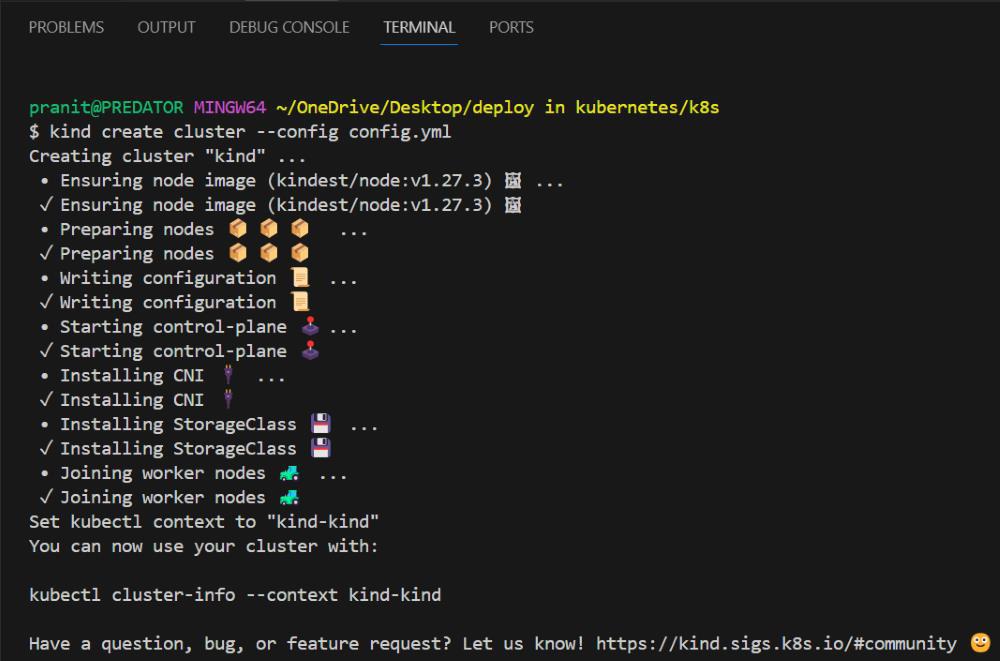
Step 2: Create a cluster using the config file.
kind create cluster --config config.yml
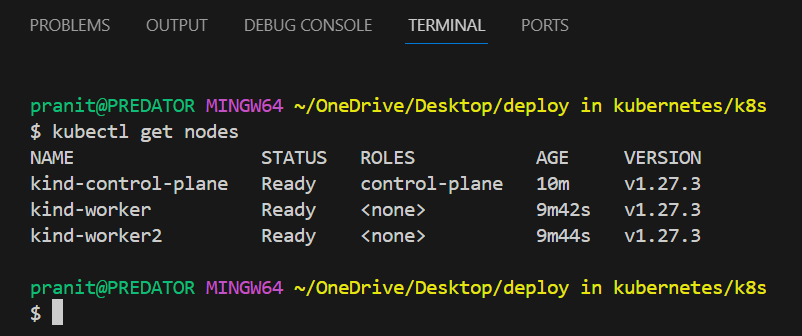
Step 3: Now check the nodes in the cluster using the command below .
kubectl get nodes
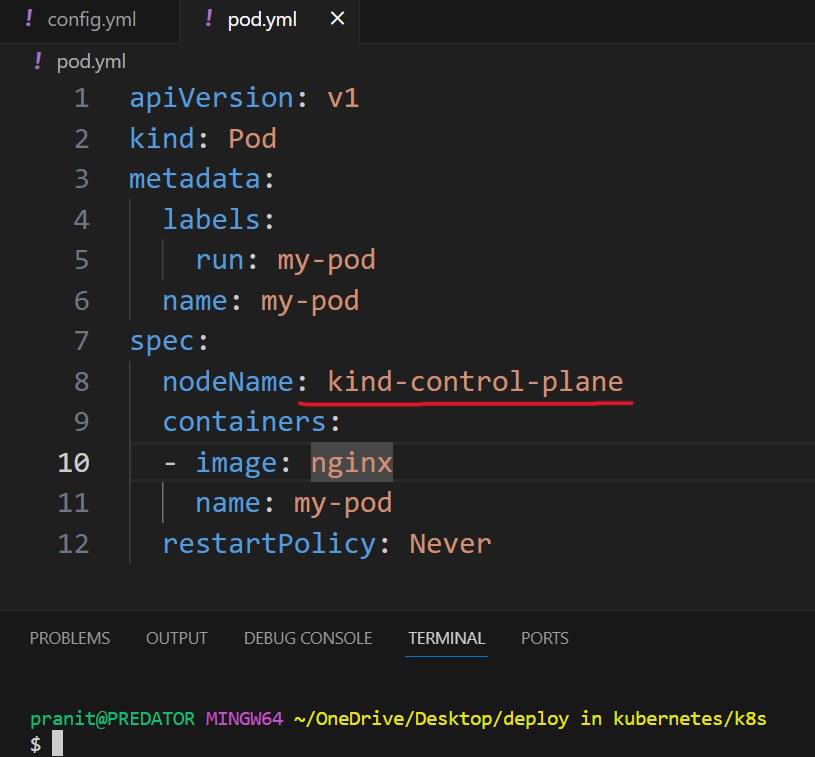
Step 4: Now write a YAML file to create a pod and run in one of the nodes on the cluster . Here in the nodeName field mention the name of node on which you want to schedule the pod for running.
pod.yml
apiVersion: v1
kind: Pod
metadata:
  labels:
    run: my-pod
  name: my-pod
spec:
  nodeName: kind-control-plane
  containers:
  - image: nginx
    name: my-pod
  restartPolicy: Never
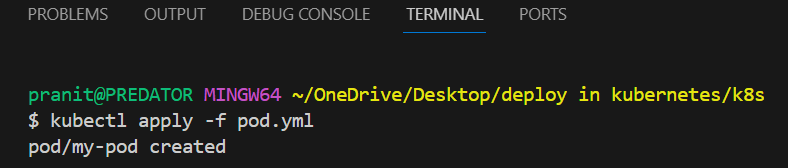
Step 5: Now create a pod on the cluster using the command below.
kubectl apply -f pod.yml
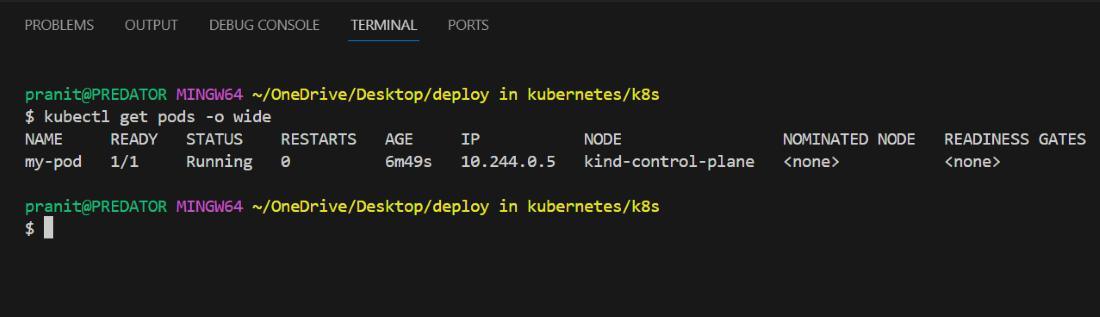
Step 6: After this check in which node pod is running , using the command below . Here you will see the same node as we have mentioned in the nodeName field in pod.yml.
kubectl get pods -o wide
Like this you can change the node name and can manually schedule the running of a pod on any node.
Why You Can't Move a Running Pod
A critical concept in Kubernetes is that a Pod's placement is immutable. Once the scheduler binds a Pod to a Node (or you do it manually with nodeName), that decision is final for the entire lifecycle of that Pod.
You cannot change the nodeName of a running Pod.
If you need to move an application from one node to another (for example, to perform maintenance on the old node), you cannot simply "migrate" the live Pod. The correct Kubernetes-native approach is:
- Use a Controller: Your Pods should be managed by a higher-level controller like a Deployment or StatefulSet.
- Delete the Pod: When you delete the Pod, the controller detects that the desired number of replicas is no longer met.
- Re-creation and Re-scheduling: The controller immediately creates a new Pod to replace the old one. This new Pod is then picked up by the scheduler, which runs its filtering and scoring logic again to place it on the best available Node.
This "delete and recreate" pattern reinforces the idea that Pods are ephemeral, disposable units, not permanent machines.
Explore
DevOps Basics
Version Control
CI & CD
Containerization
Orchestration
Infrastructure as Code (IaC)
Monitoring and Logging
Security in DevOps