

IntelliJ IDEA is a popular Integrated Development Environment (IDE) developed by JetBrains for building Java and JVM-based applications. This guide explains how to download, install, and configure IntelliJ IDEA on Windows, macOS, and Linux for Java development.
- Provides a step-by-step installation process for all major operating systems.
- Covers the initial setup required to start developing Java applications.
- Helps beginners install and configure IntelliJ IDEA with ease.
Prerequisites
Before installing IntelliJ IDEA, make sure your system meets the following requirements:
- A computer running Windows, macOS, or Linux.
- A stable internet connection to download the installer.
- Java Development Kit (JDK) 17 or later installed for Java development.
- Enough disk space and memory for smooth performance.
- Administrator privileges to install software.
Download and Install IntelliJ IDEA
Step 1: Download IntelliJ IDEA
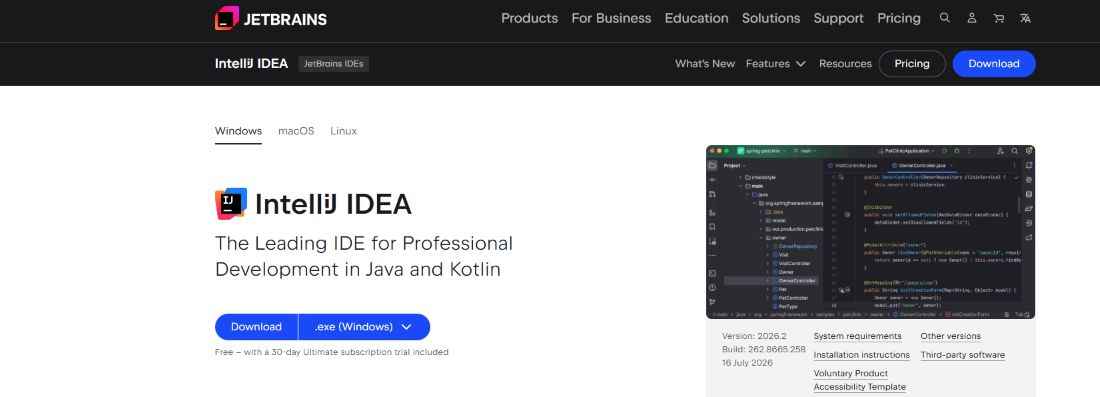
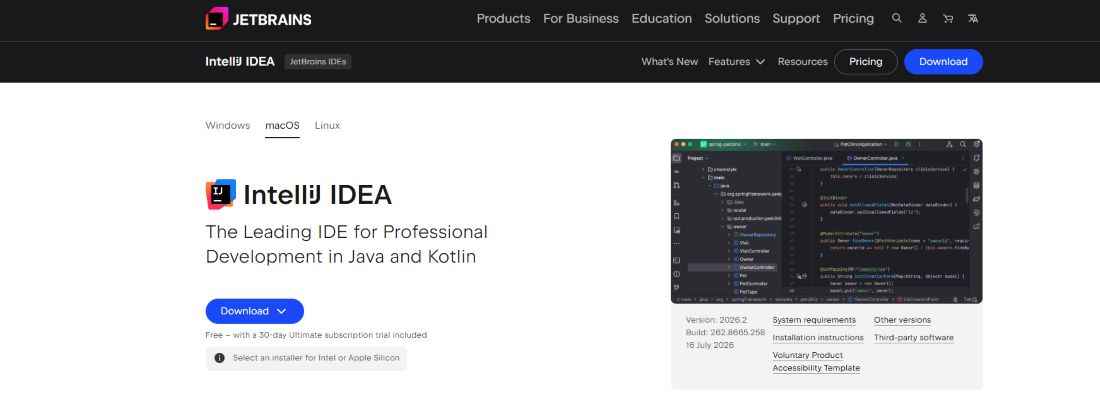
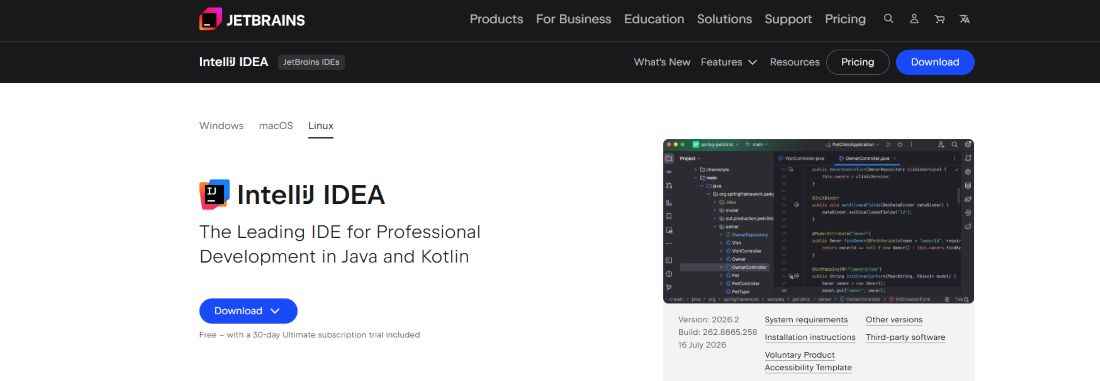
Visit the official JetBrains IntelliJ IDEA website and open the Downloads page.
- Select your operating system (Windows, macOS, or Linux).
- Download the unified IntelliJ IDEA installer for your system.
- Core Java and Kotlin development features are available for free.
- Advanced features are available through an Ultimate subscription, which includes a free 30-day trial.

JetBrains also confirms that after the Ultimate trial expires, users can continue using IntelliJ IDEA for free with the core feature set; there is no need to install a different Community Edition.
Step 2: Install IntelliJ IDEA
Windows
- Double-click the downloaded .exe installer.
- Follow the installation wizard.
- Choose the desired installation options.
- Click Install and wait for the installation to complete.
- Click Finish to launch IntelliJ IDEA.
macOS
- Open the downloaded .dmg file.
- Drag IntelliJ IDEA to the Applications folder.
- (Optional) Right-click the IntelliJ IDEA icon in the Dock, select Options, and choose Keep in Dock for quick access.
Linux
- Extract the downloaded
.tar.gzpackage - Open the extracted folder and navigate to the
bindirectory - Run the
idea.shscript to launch IntelliJ IDEA
Step 3: Complete the Initial Setup
Launch IntelliJ IDEA from the desktop shortcut, Applications folder, or application launcher. On first launch, accept the license agreement, choose your preferred theme, install the recommended plugins if prompted, and complete the initial setup wizard.
Step 4: Configure the Java Development Kit (JDK)
If a JDK isn't already configured, install JDK 17 or later. You can then select it while creating your first project, or configure it directly from File -> Project Structure -> SDKs.
Step 5: Create Your First Java Project
Click New Project, select Java, choose the installed JDK, enter the project name and location, and click Create. The installation is successful if the project opens correctly, the JDK is detected, and you can compile and run Java code without errors.

Features of IntelliJ IDEA
- Intelligent code completion and code analysis
- Support for Java, Kotlin, Groovy, and other JVM languages
- Built-in debugger and profiler
- Integration with Git, GitHub, Maven, and Gradle
- Support for popular Java and JVM frameworks, with advanced framework tooling available through the Ultimate subscription.
- Advanced code refactoring and navigation tools
- Built-in testing support for JUnit and TestNG
- Plugin support to extend IDE functionality