Deploying a MERN Project is an important step in making your app accessible to all. This process involves moving your application from a development environment to a production server where it can handle real traffic. Proper deployment ensures that your website runs smoothly, securely, and efficiently.
1. Choose the Right Hosting
The first step is selecting a hosting provider that meets your needs. Popular options include cloud platforms like AWS, Google Cloud, and Azure, or specialized e-commerce hosting like Shopify or BigCommerce. Consider factors such as scalability, security, support, and pricing.
2. Prepare Your Application
- Code Optimization: Minify CSS and JavaScript, optimize images, and remove unnecessary code.
- Environment Variables: Use environment variables to manage different configurations for development and production.
- Database Setup: Configure your database for production, ensuring it is secure, backed up, and optimized for performance.
Backend Deployment Steps Using Render
Render is a popular platform for deploying web applications, APIs, and background workers. It offers an easy-to-use interface and automates much of the deployment process, making it a great choice for deploying backend services. Here’s a step-by-step guide to deploying your backend using Render.
Step 1: Sign Up and Create a New Service
Sign Up: If you don’t already have a Render account, sign up at Render.com.
Create New Service: After logging in, navigate to the Render dashboard and click on the "New" button. Select "Web Service" if you’re deploying an API or web application.

Step 2: Connect to Your Repository
Repository Access: Render integrates with GitHub, GitLab, and Bitbucket. Connect your preferred Git repository to Render.
Select Repository: Choose the repository where your backend code is stored. Render will automatically detect your project’s configuration files.


Configure the Service
- Name Your Service: Give your service a name. This will also form part of the URL where your service will be accessible.
- Environment: Select the environment (e.g., Node.js, Python, Ruby) that matches your backend. Render will auto-detect your environment based on your repository, but you can customize it if necessary.
- Build Command: Specify the command to build your application (e.g., npm install for Node.js).
- Start Command: Define the command to start your application (e.g., npm start or node index.js).
- Instance Type: Choose the instance type based on the expected traffic and load (e.g., Standard, Pro).

Step 3: Set Up Environment Variables
Add Environment Variables: Click on the "Environment" tab to add any required environment variables (e.g., API keys, database URLs, etc.). These can be added securely within the Render dashboard.
Step 4: Deploy Your Service
Automatic Deployments: By default, Render automatically deploys every time you push changes to your repository. You can also manually trigger deployments from the Render dashboard.
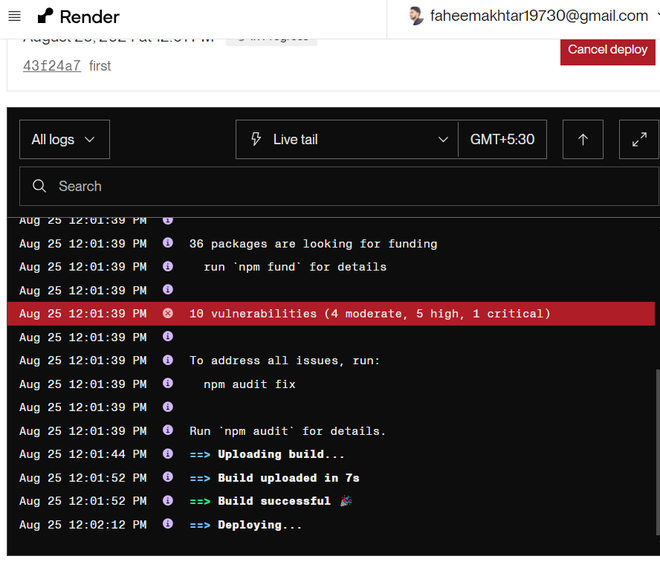
Deploy: Click on "Create Web Service" to deploy your backend. Render will build and deploy your application. You can monitor the deployment process through the logs provided.

Step 5: Monitor and Scale
Logs: Monitor logs in real-time via the Render dashboard to debug any issues that arise during or after deployment.
Scaling: Render allows easy scaling of your services. You can scale vertically by upgrading your instance type or horizontally by increasing the number of instances.
Custom Domain: If you have a custom domain, you can link it to your Render service under the "Settings" tab.
Frontend Deployment using Render
Follow all the above step only difference is that to choose a static website:

After Deployment Replace all the localhost URL to backend URL in frontend i.e. http://localhost:5000 to https://assignment1-lu79.onrender.com so that your backend is connected to frontend and running on that URL.