MongoDB Atlas is a multi-cloud database service that simplifies deploying and managing your databases. It offers the versatility you need to build resilient and performant global applications based on your preferred cloud providers.
Security is critical when logging into your MongoDB Atlas account to avoid unauthorized data access, which puts your sensitive information at risk. MongoDB provides enterprise security mechanisms out of the box. Customers can configure and enforce these controls to align with their specific security and compliance requirements.
1. Atlas Login and Security Controls
1.1 Understanding Your Responsibility For Security
MongoDB and its customers share responsibility for security: MongoDB provides the security mechanisms, while customers configure and enforce controls to meet their requirements.
MongoDB Atlas has default security measures in place, but you must take other steps to keep your data safe. This is achieved through mechanisms such as using strong login credentials, enabling multi-factor authentication (MFA), and using single-sign-on (SSO).
1.2 Supported Login Methods
To access a MongoDB Atlas account or cluster, you need to log in with the right credentials (email and password/SSO) to be authorized.
After getting authenticated, you get access to your MongoDB Atlas account with the Atlas Admin privilege by default. You can update these permissions and/or create additional users later.
Logging in via the user interface. This can be achieved through:
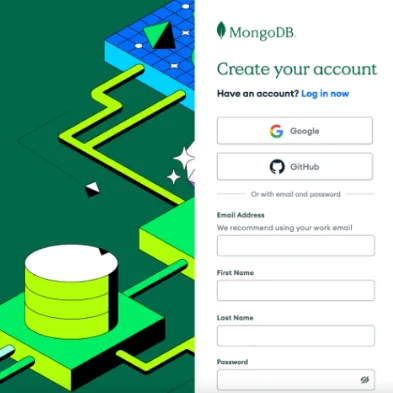
1.2.1 Using an Email and a Secure Password Through Signing Up.
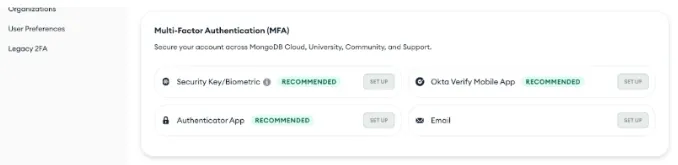
1.2.2 Enabling Multi-Factor Authentication (MFA)
Multi-factor authentication (MFA) is a security mechanism that requires users to provide two or more verification factors to gain access to their MongoDB Atlas account.
As of March 26, 2025, MongoDB rolled out mandatory multi-factor authentication (MFA) for MongoDB Atlas users. While MFA has long been supported in Atlas, it was previously optional. This was implemented to ensure that customers have the highest level of security against unauthorized access to MongoDB Atlas.
MongoDB Atlas requests two forms of identification: your password and one of the following recommended factors:
- Security key/biometrics
- Okta Verify mobile app
- OTP
- Push notifications
- Authenticator app (TOTP)
- Twilio Authy
- Google Authenticator
- Microsoft Authenticator
- Using a federated or SSO login via an external identity provider (IdP) such as Okta, Google Workspace, or Microsoft Entra ID.
1.3 Logging in Via Console/Machine
The command line interface (CLI) login via commands.
`atlas auth login [options]`
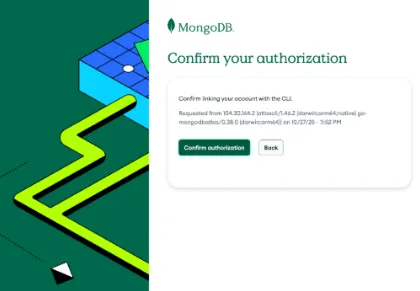
After running `atlas auth login [options]` via the CLI, it opens up the MongoDB Atlas page where you either have to type out the one-time verification code generated via the console, or it will redirect you to the login page using your email and password, where you will type in a one-time code and confirm the authorization.
After going through these steps, your account is ready and you can return to the CLI in your terminal window to work from the console.

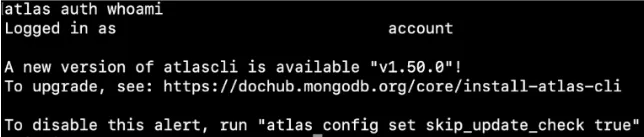
- `atlas auth whoami [options]`
The output will be `Logged in as {email_address} account` when you’ve successfully logged in.
To log out, run `atlas auth logout [options]`.
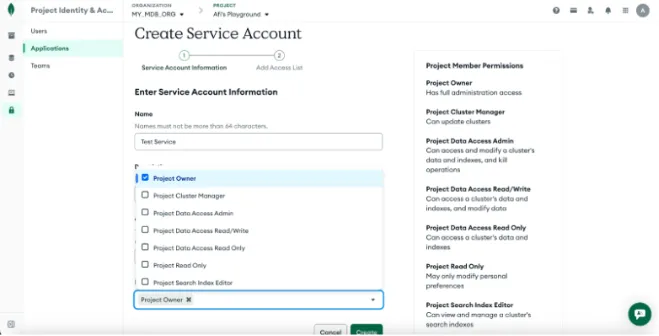
1.4 MongoDB Atlas Administration API access Via Service Accounts/API Keys
A service account is a non-human user that provides access to your MongoDB Atlas projects and MongoDB Atlas Administration API.
After successfully logging in, on the left pane, navigate to the Security section. To create an API key, you need to create a service account and add your IP as shown below.
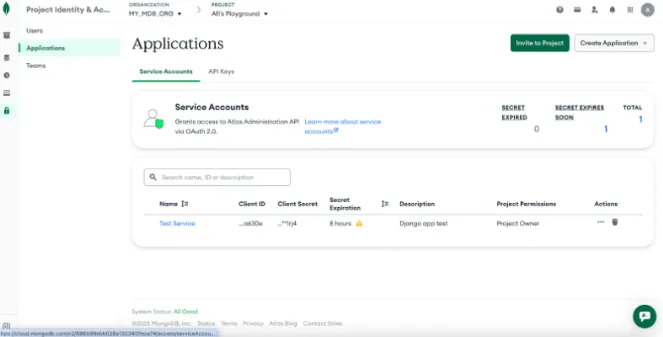
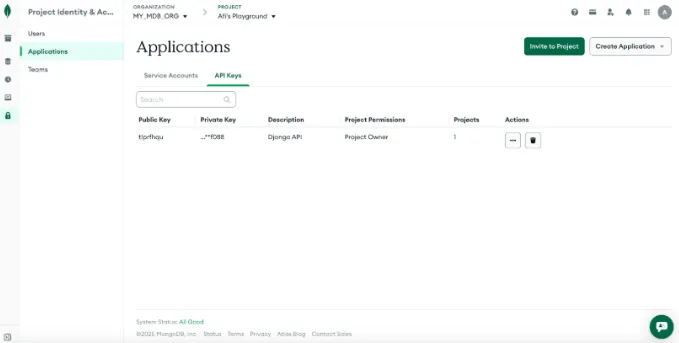
After successfully creating a service account, switch to the API Keys tab under Applications to create an API key. The result is shown below.
2. Why Would You Need to Add an IP?
An internet protocol is a unique identifying number assigned to every device on the internet. In this case, adding your IP ensures that you have a connection to MongoDB Atlas. By default, Atlas only allows client connections to the cluster from entries in the project's IP access list.
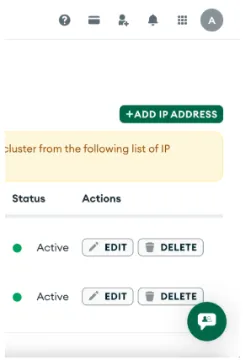
To enable IP access, in the left sidebar, scroll down to security and click on `Database Access`. In the left sidebar under Network Access, click on the IP access list.
In the IP access list, there will be a default IP address already created as part of the auto setup process. At the top right corner, you can click `Add IP address` to add a new IP to the existing one.
3. Beginner’s Quick Checklist
To ensure your MongoDB Atlas login is secured, here is a checklist to keep your MongoDB Atlas account safe.
- Use a strong and unique username and password.
- Enable MFA and enroll with at least two methods so you’re not locked out in case one fails.
- Monitor API keys (usage, permissions) to ensure it is being used appropriately.
- Restrict access using IP access lists.
This sums up ways to ensure extra security for your MongoDB Atlas account.
To learn more about authentication, authorization, database users, managing user roles and the like, checkout the MongoDB Skill Badge Secure MongoDB Atlas: AuthN and AuthZ. You can also learn more about enforcing security with MongoDB Atlas.