Sending large files in Outlook can be a challenge due to email size restrictions. Whether you're sharing business reports, high-resolution images, or important documents, the default file size limitations can prevent smooth communication. Fortunately, there are several ways to send large files without running into size issues.
In this guide, we will explore three effective methods for emailing large files in Outlook—by uploading files to OneDrive, compressing files before sending, and reducing the size of large image files in Outlook 365. Each method offers a unique approach to overcome the challenges of email attachments, ensuring that your files are sent quickly and securely.
How to Send Large Files in Outlook
Here are the ways in which you can know how to send large files in Outlook efficiently, ensuring smooth delivery and secure file sharing.
Method 1: By Uploading to OneDrive
The easiest way to attach large files in Outlook is by uploading them to OneDrive and sharing a link instead of attaching them. Follow the below steps to send large files via Outlook without size restrictions:
Step 1: Open OneDrive and Sign In
Go to OneDrive and sign in with your Microsoft account.

Step 2: Upload the Large File to OneDrive
- Click on Upload (located at the top).
- Select Files and choose the large file from your computer.
- Wait for the upload to complete.

Step 3: Get the Shareable Link
- Once the upload is finished, right-click on the file in OneDrive.
- Click Share and select Copy Link to generate a shareable link.
- Set permissions (View/Edit) as needed.

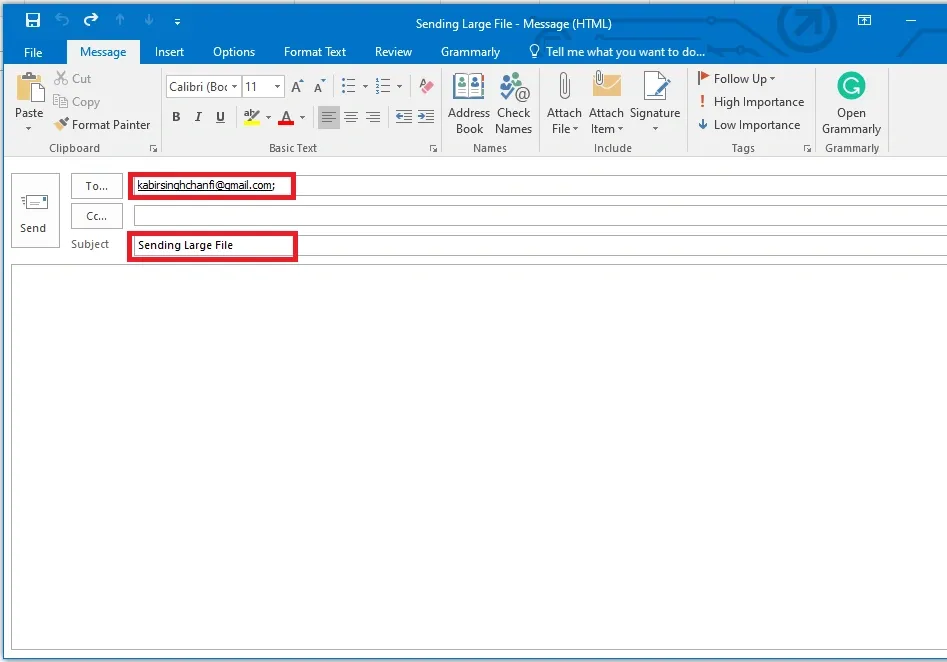
Step 4: Open Outlook and Compose a New Email
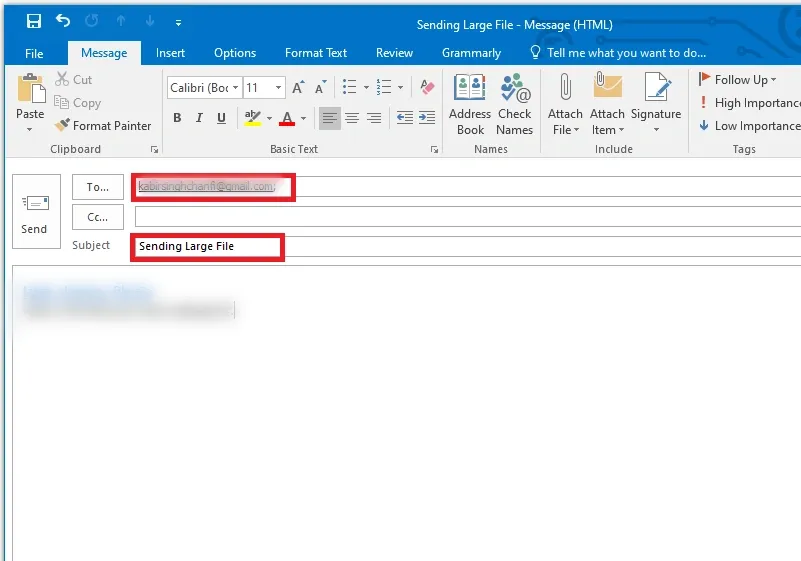
- Go to Outlook and click New Email.
- Enter the recipient's email address and subject.
Step 5: Paste the OneDrive File Link in the Email
- In the email body, paste the OneDrive link you copied earlier.
- Optionally, add instructions or a message to the recipient.

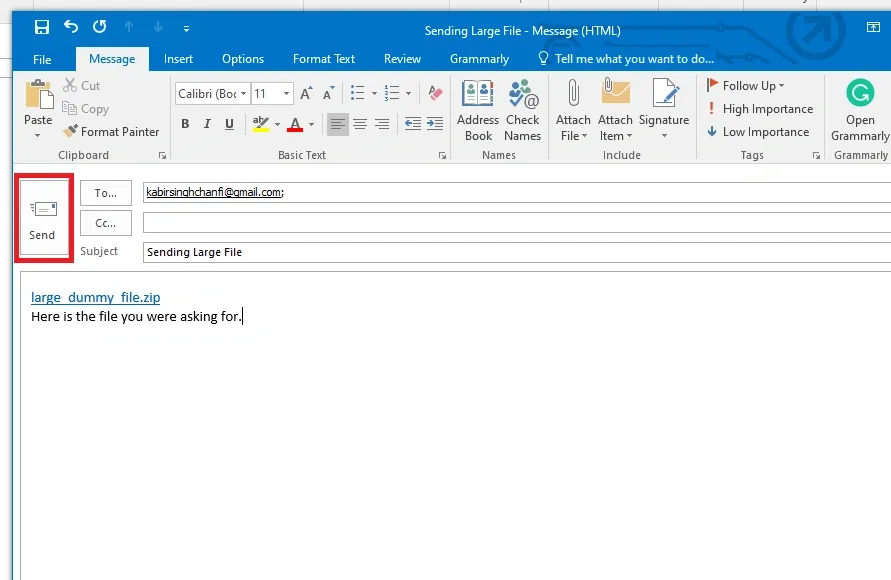
Step 6: Send the Email
- Review the email and ensure the link is correct.
- Click Send to share the large file via Outlook.
Method 2: By Compressing File Before Sending
Another way to send large files through Outlook is by compressing them into ZIP format before attaching them. Follow the below steps to send large files via outlook:
Step 1: Locate the Large File on Your Computer
Find the file or folder that you want to send via Outlook.

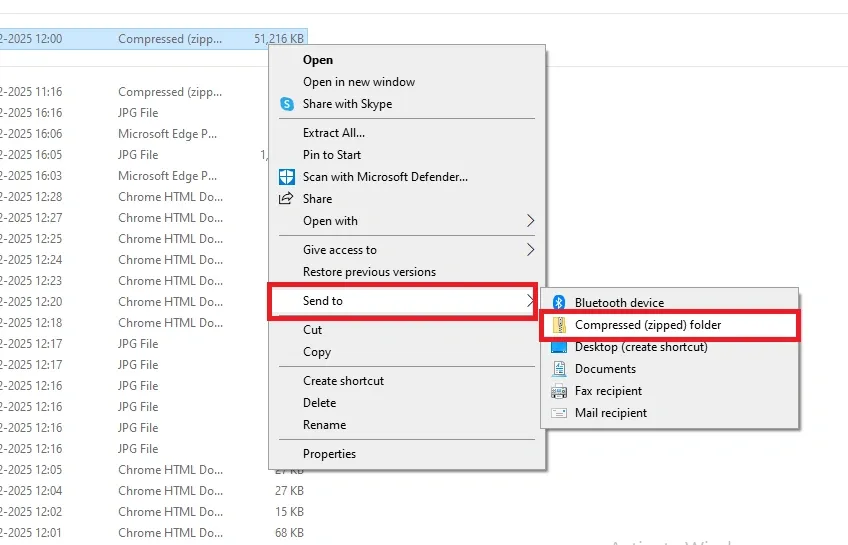
Step 2: Compress the File into a ZIP Format
- Right-click on the file or folder.
- Select Send to > Compressed (zipped) folder (on Windows) or Compress (on macOS).
- A new ZIP file will be created in the same location.
Step 3: Open Outlook and Compose a New Email
- Launch Outlook and click on New Email.
- Enter the recipient’s email address and subject.
Step 4: Attach the Compressed File
- Click Attach File in the email window.
- Select the newly created ZIP file from your computer.

Step 5: Send the Email
- Ensure the attachment size is within Outlook's limit (usually 20–25MB).
- Click Send to deliver the compressed file.

Method 3: By Reducing Image Size in Outlook 365
Sending large image files via Outlook can lead to email bounces or slow delivery due to size restrictions. Reducing image size helps optimize email performance while maintaining image quality. Follow the below steps to send large files by reducing image size:
Step 1: Open Outlook and Compose a New Email
Launch Outlook 365 and click New Email to start composing your message.

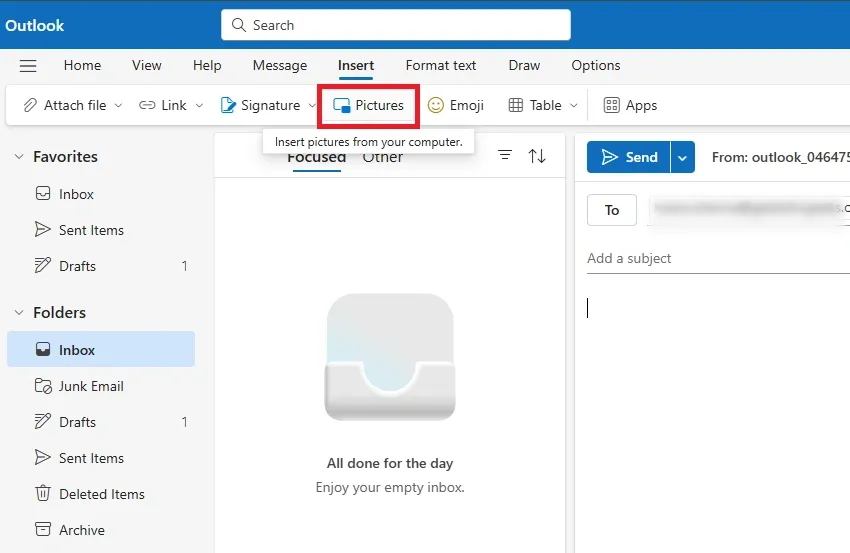
Step 2: Insert the Image in the Email
Click on Insert > Pictures and select the image from your computer.

Step 3: Resize the Image in the Email Body (Optional)
Click on the inserted image and drag the corners to reduce its displayed size.
Step 4: Compress the Image
- Select the image in the email.
- Click on the Picture Format tab at the top.
- Choose Picture Size in the Adjust group.

Step 5: Select Compression Options
In the Compress Pictures window, select:
- Apply only to this picture (optional).
- Delete cropped areas of pictures (to reduce file size).
Choose the resolution:
- Email (96 ppi) – Best for small file sizes.
- Web (150 ppi) – Good balance of size and quality.
Step 6: Click OK to Apply Compression
After selecting the preferred compression settings, click OK to reduce the image size.
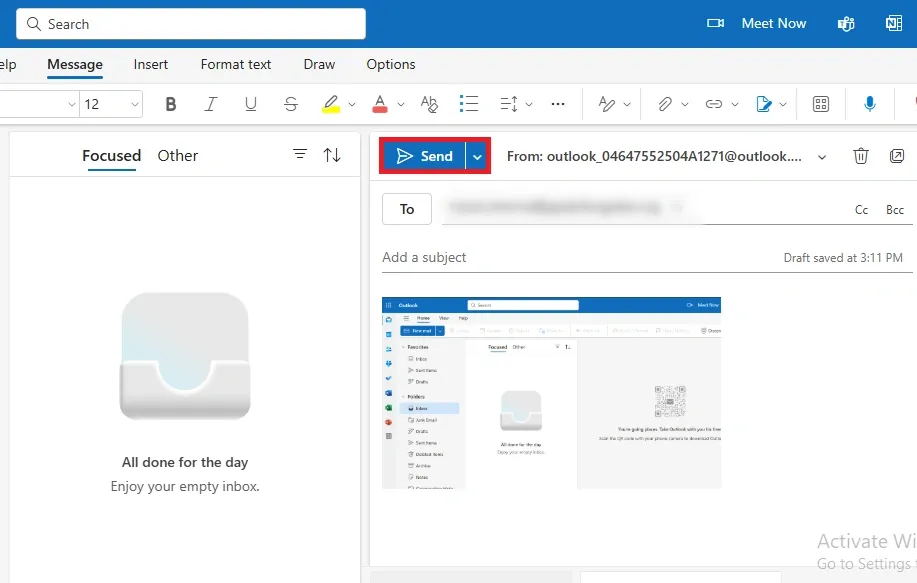
Step 7: Send the Email
Once the image is compressed, add the recipient’s email, subject, and message, then click Send.
Use Third-Party File Sharing Services
If your file is too large for OneDrive or ZIP compression, you can use external services like:
- WeTransfer (wetransfer.com)
- Google Drive (drive.google.com)
- Dropbox (dropbox.com)
- Filemail (filemail.com)
What is Outlook’s File Size Limit
Outlook has a default file attachment size limit of 20 MB for most email accounts, including Outlook.com and Exchange-based accounts. For Microsoft 365 and Exchange Online, the limit is 25 MB. If you exceed this limit, Outlook will prevent the email from being sent.
To send larger files, you can use cloud storage services like OneDrive, SharePoint, or third-party solutions like Filemail, which generate a downloadable link for recipients.
Conclusion
In conclusion, knowing how to email large files in Outlook opens up new possibilities for efficient communication. Whether you choose to upload your files to OneDrive for easy sharing, compress them to reduce their size, or resize large images to fit within Outlook’s limits, each method can help you send files with ease. By utilizing these strategies, you can avoid the frustration of attachment errors and ensure that your files are transmitted successfully. Now that you’re familiar with these techniques, you’ll be able to handle large file attachments in Outlook 365 with confidence, keeping your workflow uninterrupted and efficient.