How to Insert a Picture in MS Powerpoint
Last Updated :
01 Mar, 2025
How to Add a Picture in PowerPoint: Quick Steps
- Open MS PowerPoint >> Go to the Slide
- Click on Insert Tab >> Select Pictures
- Choose the Image >> Click Insert
- Resize and Position >> Preview Results
Ever wondered how to insert pictures in PowerPoint without distorting them? Adding images to Microsoft PowerPoint is one of the easiest ways to make your presentations more engaging, professional, and visually appealing. Whether you're creating a business pitch, educational lecture, or marketing presentation, inserting high-quality images can enhance storytelling, grab attention, and improve audience retention.
But how do you add pictures in PowerPoint without losing quality? How can you format, resize, and position images correctly to make your slides stand out? In this guide, you'll learn step-by-step methods to insert images in PowerPoint, customize them for a professional look, and fix common issues related to image formatting.
 How to Insert a Picture in PowerPoint
How to Add a Picture in PowerPoint: Different Methods
PowerPoint offers multiple ways to insert images based on your needs, design preferences, and formatting requirements. Below are some of the best methods to add pictures in PowerPoint while keeping them high quality and well-positioned.
Method 1: Insert a Picture from Your Computer (Quick & Easy)
This method is best for adding images saved on your device. It ensures high-quality image resolution and gives you full control over editing, resizing, and positioning.
Step 1: Open Your Presentation
Launch PowerPoint and open the slide where you want to insert the image.
Step 2: Go to the "Insert Tab"
Click on the "Insert" tab in the ribbon at the top.

Step 3: Click on "Pictures"
In the "Images" group, select "Pictures" and then click "This Device" to browse your computer files.

Step 4: Select the Image File and Click "Insert"
Locate and select the image you want to insert, then click "Insert".

Step 5: Adjust and Resize
Move and resize the image by dragging the corners to fit it perfectly into your slide.

Method 2: Insert an Online Picture (Best for Free Stock Images)
If you don't have an image on your device, PowerPoint allows you to insert royalty-free images directly from the internet. This method is useful for finding high-quality stock images without leaving PowerPoint.
Step 1: Open the Insert Tab
Go to the "Insert" tab in the top menu.
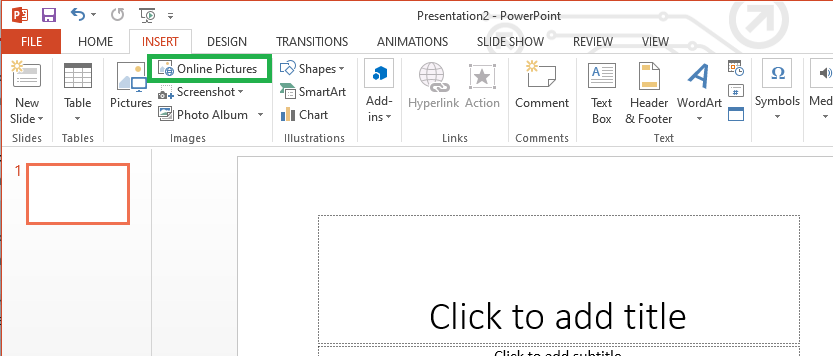
Step 2: Click "Pictures" > "Online Pictures"
Select "Online Pictures" to access Microsoft Bing’s image search
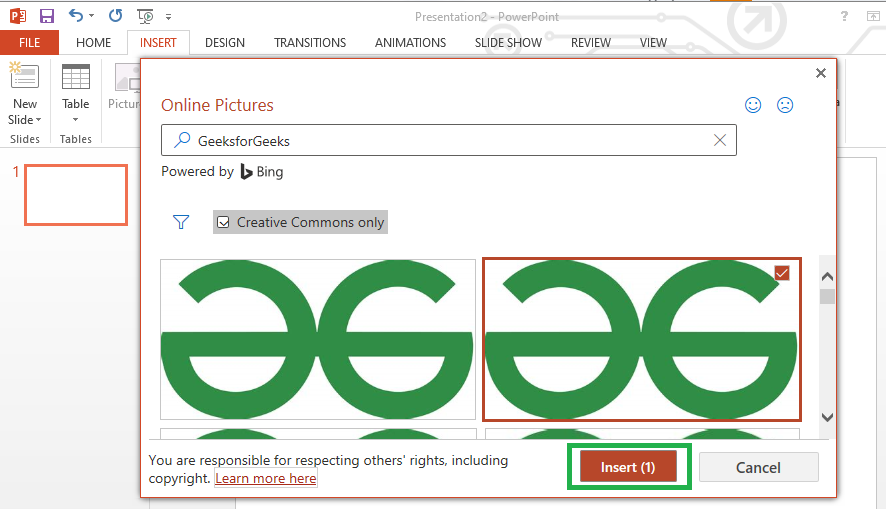
Step 3: Search for an Image
Type a keyword related to the image you need (e.g., "Business meeting", "Technology background").

Step 4: Choose an Image and Insert
Select an image and click "Insert" to add it to your slide.

Step 5: Resize and Position
Adjust the image as needed to fit your presentation layout.
Method 3: Copy and Paste an Image (Fastest Way to Add Images)
If you have an image copied from a website, document, or another slide, you can quickly paste it into PowerPoint. This method is useful for quick edits and fast slide creation.
Step 1: Copy an Image
Right-click on an image from a website, another slide, or a document, and select "Copy" (or press Ctrl + C on Windows, Cmd + C on Mac).
 Right-Click and Select "Copy Image"
Step 2: Open PowerPoint and Select the Slide
Go to the slide where you want to insert the image.
Step 3: Paste the Image
Right-click on the slide and select "Paste", or press Ctrl + V (Windows) / Cmd + V (Mac).
 Right-Click and Select "Paste" Option
Resize the image and adjust its brightness, contrast, or transparency under the Picture Format tab.
 Resize and Format the Image
Method 4: Insert a Screenshot (Best for Tutorials & Guides)
If you need to capture and insert a screenshot into PowerPoint, this method allows you to take instant screen captures without needing additional software.
Step 1: Open PowerPoint and Go to the Insert Tab
Click on the "Insert" tab in the ribbon.
Step 2: Select "Screenshot"
In the "Images" group, click "Screenshot" and choose "Screen Clipping".
 Go to Insert Tab and Select "Screenshot"
Step 3: Select the Area to Capture
Drag your cursor over the part of the screen you want to capture.
Step 4: Insert and Adjust
The screenshot will be automatically added to your slide. Resize and position it as needed.
 Insert and Adjust the Image
Common Issues & Fixes When Adding Pictures in PowerPoint
Image Looks Blurry or Pixelated
- Use high-resolution images (avoid low-quality web images).
- Resize images proportionally to maintain quality.
Image is Not Fitting Properly in the Slide
- Use the Crop tool to trim unnecessary areas.
- Resize images manually while holding the Shift key to maintain aspect ratio.
Image is Covering Text or Other Elements
- Use Send to Back (Right-click > Send to Back) to move images behind text.
- Reduce transparency under "Picture Format" if needed.
Conclusion
Adding pictures to PowerPoint presentations is a simple yet powerful way to enhance your slides, improve visual appeal, and engage your audience. Whether you insert an image from your computer, use online pictures, take screenshots, or crop images into shapes, PowerPoint provides multiple options to fit your needs.
By using the methods outlined in this guide, you can ensure high-quality, well-placed images that make your slides visually stunning. So, start adding images to PowerPoint today and make your presentations more dynamic and effective!
Explore
Basics of Computer
Application Software
System Software
Networks & Internet Protocols
Programming Languages