Azure Front Door for Global Web Acceleration
Last Updated :
14 Aug, 2024
The Azure front door service is designed to implement scalable and secure entry points for fast delivery of our global applications.
The front door is part of a family of technologies around Azure networking that breaks down into these four areas: Connectivity, Monitoring, Protection, and Delivery and it's the area of delivery that we're looking at in this article.
Azure Network Delivery Services
Azure provides several different methods for getting things delivered to your customers. A is a content delivery network, much like the YouTube service. The Traffic Manager is a global DNS load balancer. An Application Gateway is a layer 7 load balancer that acts as a Web Application Firewall. The Azure load balancer is a highly available service from the backend that could be things like a clustered database.
When to use which Network delivery service?
Suppose we are using a regional point of presence so you're in the Azure East region or UK South region And in that region. In that case, you need something that is non-HTTP or non-HTTPS traffic what you want is an Azure load balancer. Still, if you instead want something that has a global point of presence but is not necessarily HTTP-South traffic you can use Azure's Traffic Manager. Now if you need something regionally that is going to provide that layer 7 traffic which is HTTP or HTTPS then you're looking at the Application gateway. If you need something with a global point of presence that runs at layer 7, we need to look at Azure's front door.
Azure Front Door: Usecase
Suppose, we have a web front-end of my application that's running here in the US. If somebody else wants to access it, there's only one place for them to go they've got to traverse the Internet to get from wherever they are to where my thing is over here in the US. The problem is that there's no way to directly control traffic flow over the Internet even though our most optimal path may still take you halfway around the world. In this case, we need an Azure Front Door service.
Step-by-Step Guide to Creating Azure Front Door Service in Azure Portal
Step-1: Creating First Web app resource
Log in to the Azure portal navigate to the marketplace and search for Azure web app service or directly search using the Azure global search bar.
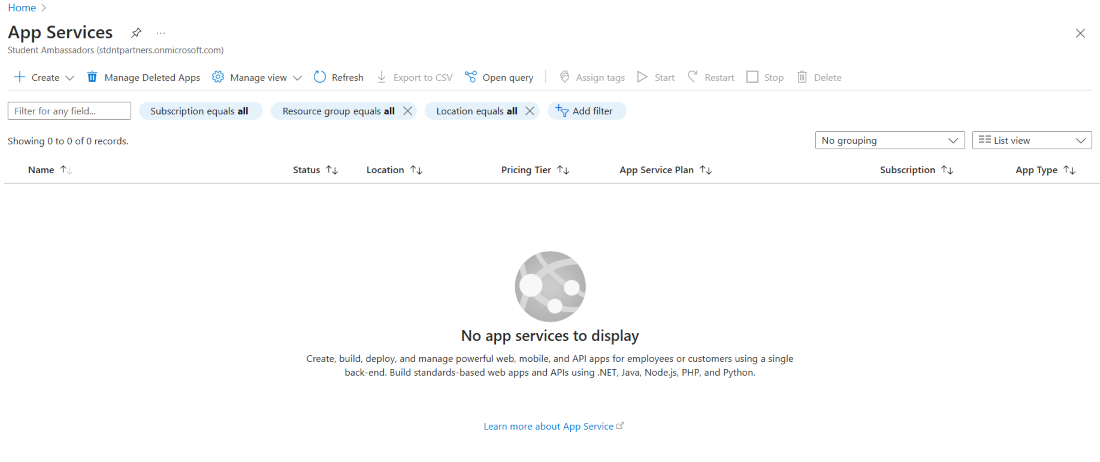
click on Create and choose Web App.

Now, enter the project details. Choose your subscription name and resource group. Either you can create a new resource group or use an existing one.

Enter the instance details. Mention the name of your web app, publish type, runtime stack, operating system, and region. The region may be provided by default by Azure. Make sure you choose the region according to your requirements.

Enter the pricing plan details. Create and name your new pricing plan and you may choose the memory size and price plan details as per your requirements.

Now click on the Review+create button. It will validate all the inputs you provided and enable the create button and once the create button is clicked, the deployment of the resource will be initialized. It takes 2-3 minutes to deploy your resource instance.

Step 2: Create a second Web app resource
following similar steps, create your second web app resource instance. Make sure you choose a unique name, location, and pricing plan.

Now, our two web app resources are deployed.
Step 3: Create Azure Front door resource
Use the Marketplace or Azure Global search to navigate to the Azure Front door service.
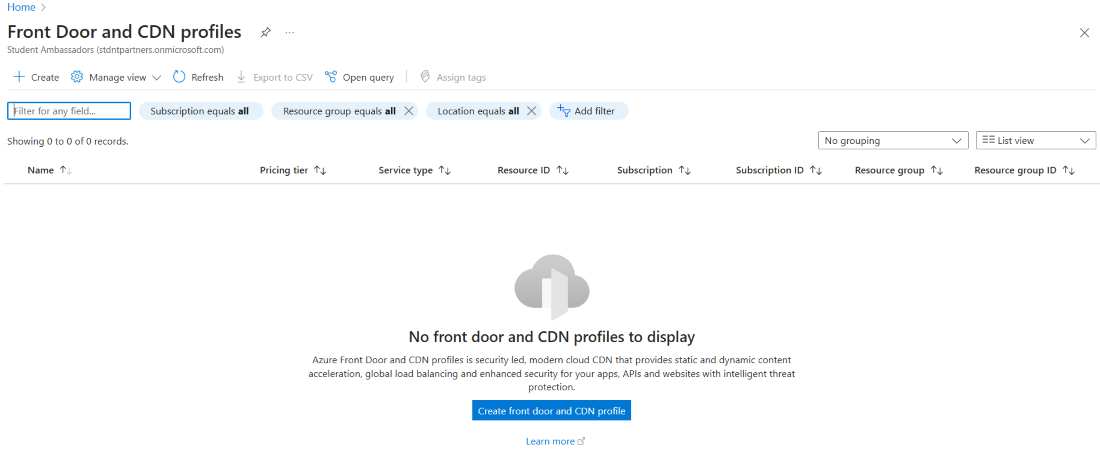
click on Create frontdoor and CDN profiles.

Now compare and choose the offerings provided by Azure front door service. choose to explore other offerings for better options and choose Azure Front Door Classic. Click on continue.

Add the project details and click on the configuration section.

In the configuration section, we need to configure our workflow for the Azure front door. In that, the first step is adding the frontend host details.

Name your frontend host details leave the other details as default and click on Add.

And the second step is about backend pools.

Name your backend pool and connect your web app resources in the backend by clicking Add a Backend button.

choose the Backend host type as App service and in the backend host name choose the first web app service we have created and click on the Add button.
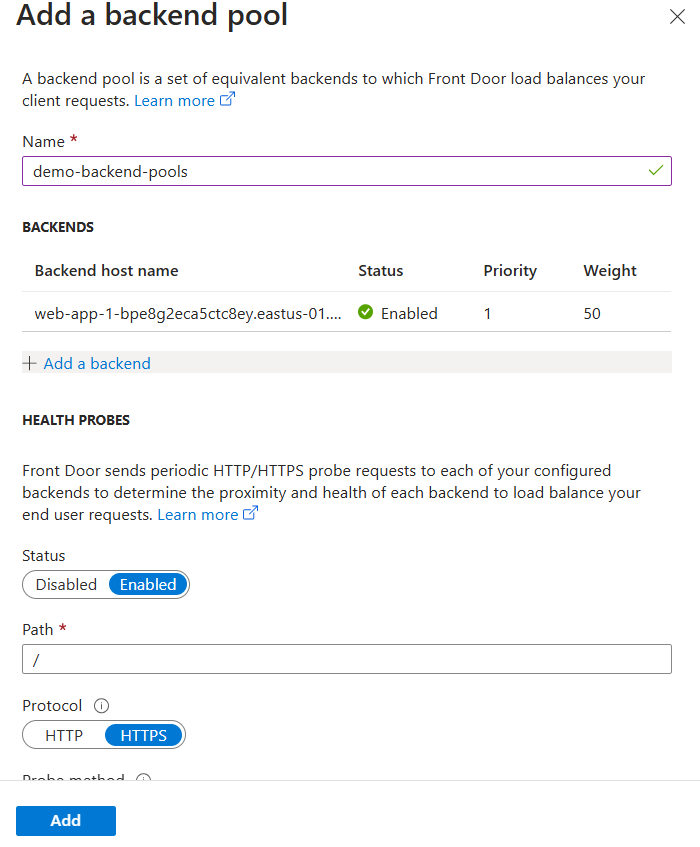
Again click on Add a backend, to add a second web app service.

follow the similar steps add the second web app resource in the backend and click add.

Now, we have our backend pools ready.

In the third step, we need to add the routing rules.

Name the routing rule make sure the Accepted protocol is HTTP and HTTPS and click on Add.
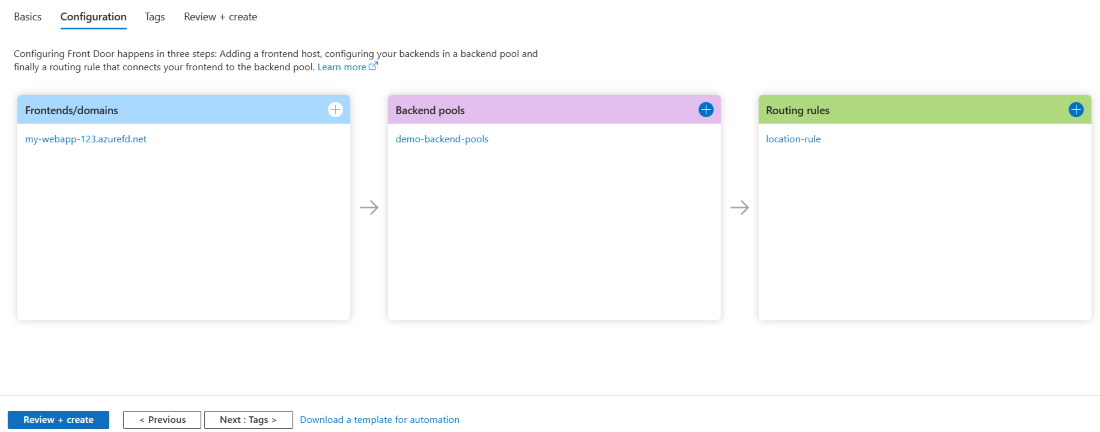
We have our configuration ready and click on Review + Create.
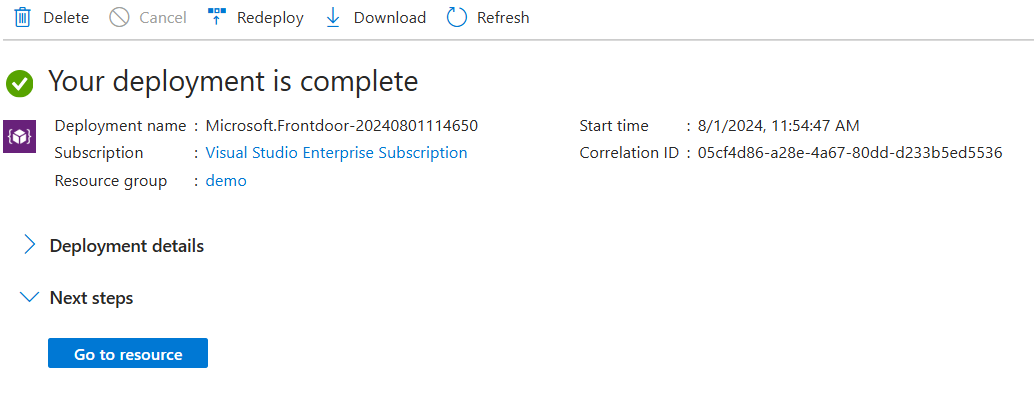
Our Azure front-door resource instance is deployed.
Step 4: Azure Front Door in action
Navigate to your Front door resource and under the essentials section, you will find the frontend host URL.

Go through the host URL
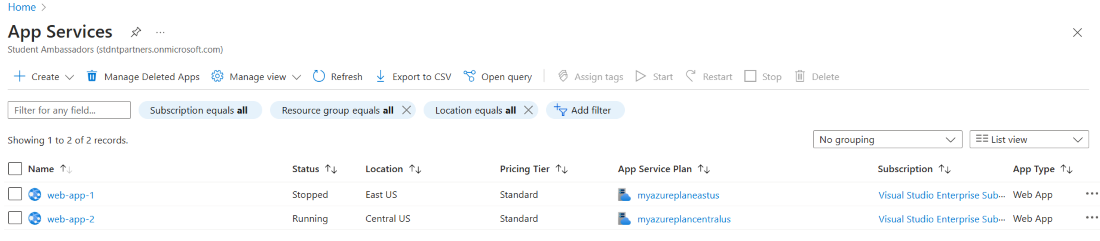
Go to your web app resources and stop the resource that is running in the East US because our Azure front door is running in the same location.

select the service and click on the stop button. It takes some time. Refresh your page.
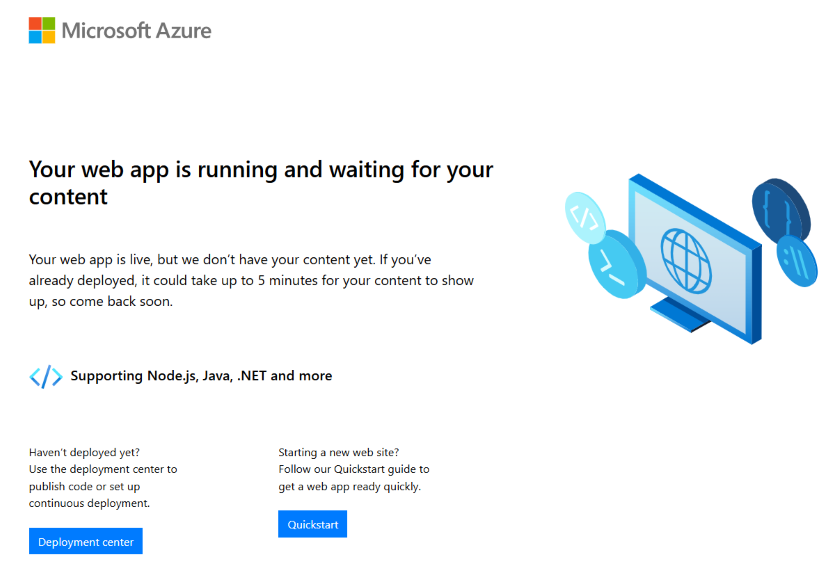
Go back to the Frontend host URL and you can see the Frontend host is still running.

Note: After you stopped your web app instance, it will initially show no service available error. Try refreshing your page because it takes 1-2 minutes to pick the other location backend pool.
Explore
DevOps Basics
Version Control
CI & CD
Containerization
Orchestration
Infrastructure as Code (IaC)
Monitoring and Logging
Security in DevOps