How to Migrate from Webpack to Vite?
Last Updated :
18 Sep, 2024
Migrating from Webpack to Vite is a process that allows you to transition from a traditional bundler (Webpack) to a modern front-end build tool (Vite). Vite offers faster build times, better development server performance, and built-in support for modern JavaScript features like ES modules. In this article, we'll guide you through the steps required to migrate a Webpack-based project to Vite, ensuring compatibility while leveraging Vite's improved performance and development experience.
Approach
To migrate from Webpack to Vite, we start by removing Webpack dependencies and installing Vite along with any necessary plugins (depending on the framework used). We then modify the package.json scripts to replace Webpack with Vite commands. After that, we adjust the index.html file and update the asset imports to fit Vite's module system. Finally, we run the app in development mode and verify the migration using the build and preview commands.
Before we dive into the migration, let’s understand the steps:
- Installing Vite and removing Webpack: We’ll first install Vite and remove Webpack-related dependencies.
- Adapting the configuration: Since Webpack uses a webpack.config.js file and Vite uses vite.config.js, we need to update the configuration.
- Updating scripts: The package. json file will need updated build and serve scripts.
- Handling assets: Moving any static assets if necessary (Vite handles this differently).
- Testing: Verifying that everything works smoothly after the migration.
Steps to Create the Application
Step 1: Create a project using the below command
npm create vite@latest migrate-webpack
 creating an application
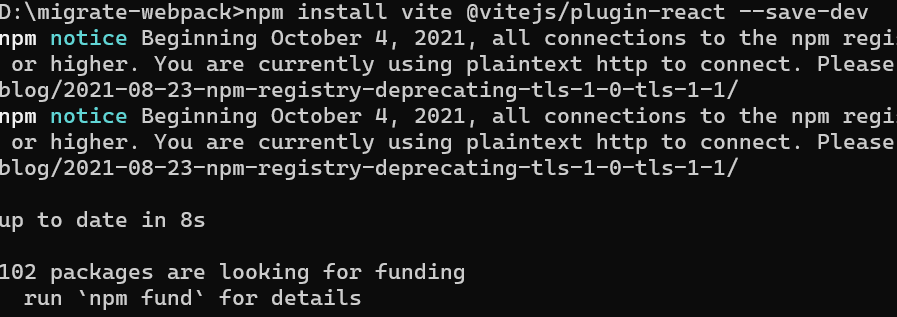
 Step 2: Run the following command to install Vite and other necessary dependencies:
npm install vite @vitejs/plugin-react --save-dev
 installong vite
Step 3: Install any other packages using below command
npm install
 installing all packages
Step 4: Remove Webpack and Install Dev Tools and remove unnecessary Webpack dependencies:
npm uninstall webpack webpack-cli webpack-dev-server
 uninstalling webpack
Updated Dependencies:
 "dependencies": {
    "react": "^18.3.1",
   "react-dom": "^18.3.1"
  }
Project Structure:
 Project structure
Example: After running npm run dev, Vite will start a local development server, and you should see your app with the "Hello, World!" text rendered.
JavaScript
//src/components/HelloWorld.jsx

import React from 'react';
const HelloWorld = () => {
    return <h1>Hello, World!</h1>;
};

export default HelloWorld;
// src/App.jsx
import React from 'react';
import HelloWorld from './components/HelloWorld';

function App() {
    return (
        <div className="App">
            <HelloWorld />
        </div>
    );
}

export default App;
Output :
 Output
Conclusion
Migrating from Webpack to Vite simplifies your development workflow, especially for projects using modern frameworks like React. Vite offers faster builds, quicker HMR (hot module replacement), and a more straightforward configuration. By following these steps, you’ve successfully migrated a Webpack project to Vite and learned how Vite’s simplified approach speeds up your development.
Similar Reads
How to Migrate from create-react-app to Vite?
In this article, we will learn how we can migrate from create-react-app to Vite. Vite is a build tool for frontend development that aims for fast and efficient development. It provides a development server with hot module replacement and supports various JavaScript flavors, including JSX, out of the
3 min read
How to Integrate Vite with Vue.js?
Vite provides the flexibility and speed needed for modern web development by offering a fast-build tool and development server. Integrating Vite with Vue.js allows developers to use Vite’s efficient hot module replacement and optimized build processes while working with Vue's reactive framework. Thi
3 min read
How to Migrate npm to yarn?
JavaScript is a programming language that is popular among programmers, yarn is a package manager for JavaScript that can also help to install modules on Node.js besides npm (Node Package Manager). Node.js comes bundled with npm installed by default and still, you can also use yarn to manage one's p
2 min read
How to setup ReactJs with Vite ?
Vite is a fast and modern build tool for creating web applications. It increases the development process by providing faster build times and better performance. Some of the benefits of using React with Vite are mentioned below:Fast updates without page reloads.Faster and smaller production builds.Au
3 min read
How to Prevent Moment.js From Loading Locales with Webpack?
A local file is a .json file that contains a set of translations for the text strings used in a theme template file. A separate local file is used for every language. Package.json includes all the local dependencies which may be of use or no use and is found in all npm libraries. It can be seen as t
2 min read
Next JS Upgrading: Migrating from Vite
Migrating from Vite to Next. By utilizing Next, your React app can benefit from an increase in performance. js has some power full features like server-side rendering(SSR), static site generation (SSG) and built-in API routes. There are some steps in this migration to move your project structure and
8 min read
How to Migrate from Create React App to Next JS ?
Migrating from Create React App to Next.js is a structured process that includes setting up a Next.js project, reorganizing your files, updating dependencies, and utilizing Next.js features for better performance and server-side rendering.Prerequisites:NPM & Node.jsReact JSNext JSApproach To mig
2 min read
How to Upgrade to React 18?
React 18 evolves the popular JavaScript component framework with new features built around concurrent rendering and suspense. It promises better performance, more capabilities, and an improved developer experience for apps that make the switch. In this article, we'll guide you through the steps to u
5 min read
How to Configure Proxy in Vite?
Vite is a popular build tool for modern web libraries and frameworks like React and Vue. It provides features such as dependency resolving, pre-bundling, hot module replacement, typescript support. Using vite you can configure a proxy to handle requests to different backends or APIs during developme
3 min read
How to Set Up a Vite Project?
Vite is a modern front-end build tool that offers a fast development experience by using native ES modules in the browser. It provides a lean and efficient setup for building JavaScript applications with a focus on performance and simplicity. PrerequisitesNodejsReactJavaScript Approach We have discu
2 min read