How to Create a Distribution List in Outlook: Quick Steps
- Open Outlook >> Go to People/ Contacts
- Click on New Contact Group
- Name the Group >> Add Members
- Save the List
- Use the List
Want to send emails to multiple people without typing each address manually? Creating an Outlook email group (also known as a contact group or distribution list) allows you to send emails to multiple recipients at once, saving you time and effort. Whether you're coordinating with a team, organizing an event, or staying connected with friends & family, Outlook email groups make communication seamless.
In this guide, we’ll show you how to create a group email in Outlook across Windows, Mac, and Web versions, plus how to edit, delete, and send mass emails using contact groups.
 Create a Group Email in Outlook
What is an Outlook Email Group
An Outlook Email Group (or Contact Group) allows you to group multiple email addresses under one name, making it easier to send emails to multiple recipients at once. Instead of typing each email manually, simply enter the group name in the "To" field, and Outlook will send the email to all group members.
How to Create a Group Email in Outlook for Windows
Learn creating email groups in outlook for Windows with these easy steps:
Step 1: Open Microsoft Outlook
To start Microsoft Outlook on your Windows computer, search Microsoft Outlook and Click the icon.
Note: No matter which version of Microsoft Outlook you are using on your Windows device, whether it's Microsoft Outlook 2010, 2013, 2016, or 2019, the process of creating email groups will be the same.
 Click the Microsoft Outlook icon to open the App
Step 2: Click on “People icon” at the bottom Left corner
Navigate to the left side of the Outlook interface and select the People icon by clicking on it.
Note: If you are using Outlook 2010: Click on Contacts at the bottom left of the Outlook window.
 Select People Icon from the bottom left panel
In Microsoft Outlook, locate the new contact group icon positioned in the top left corner of the home panel > Click the icon.
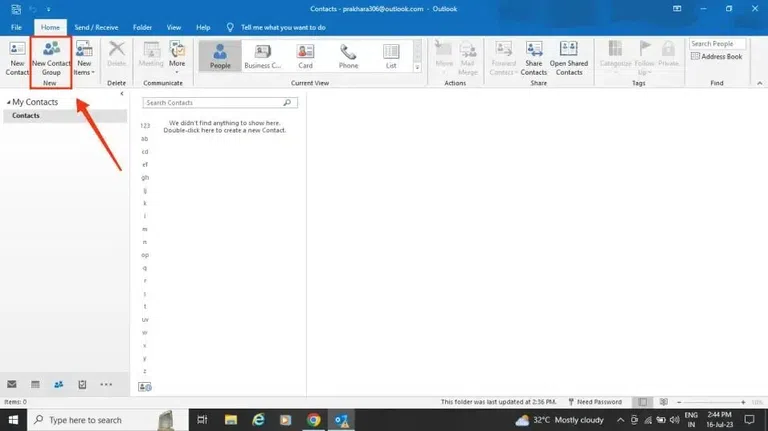 People > New Contact Group
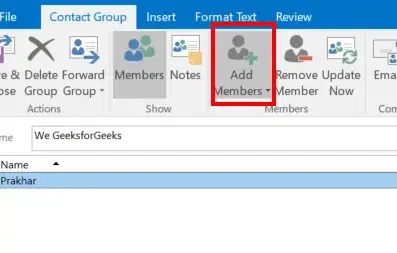
Step 4: Click on “Add members”
Now click on the "Add Members" icon to include members in your group, then select contacts from:
- Outlook Contacts
- Address Book
- New Email Contacts
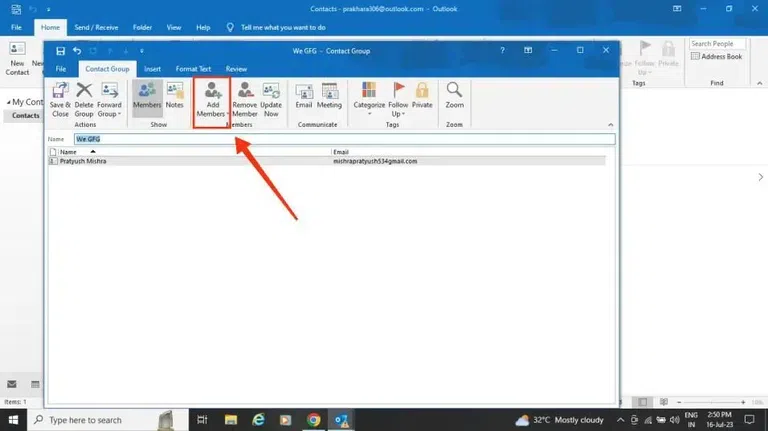 New Contact Group > Add Members
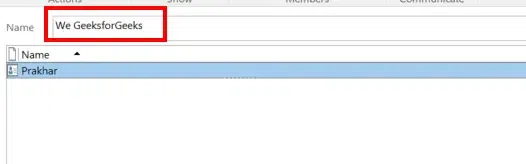
Step 5: Add a Display Name and Email Address of your members
You are now required to provide the name and email address of the members you wish to add to your group.
Note: Ensure you save the changes by clicking on the “Save and close” box that appears at the top left corner.
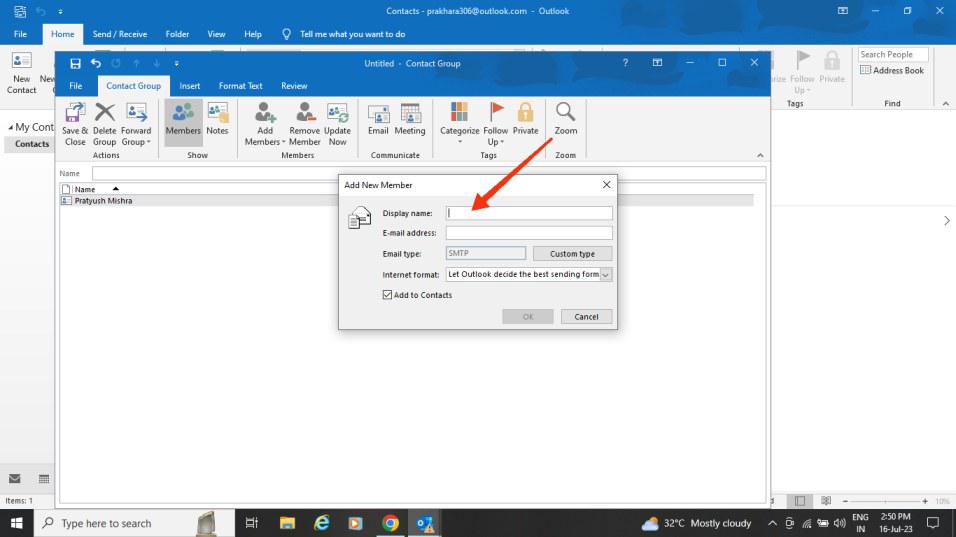 Add Display Name > Add Email Address > Click Ok
Step 6: Your Email Group is Created
Your Outlook email group is now created! You can send an email to the group by entering its name in the "To" field of a new email.
-768.webp) Your Email Group is created on Windows.
Your Email Group is created on Windows.How to Create a Contact Group in Outlook for Mac
Follow these steps to learn how to create a contact group or contact List in Outlook for Mac:
Step 1: Open Microsoft Outlook on your Mac
To open Microsoft Outlook on your Mac, find the icon for Microsoft Outlook and click on it.
-(1)-768.webp) Click on the Microsoft Outlook icon to open the app on your MacBook
Click on the Microsoft Outlook icon to open the app on your MacBookStep 2: Click on People Icon
Navigate to the bottom of the left navigation pane, and click on the people icon.
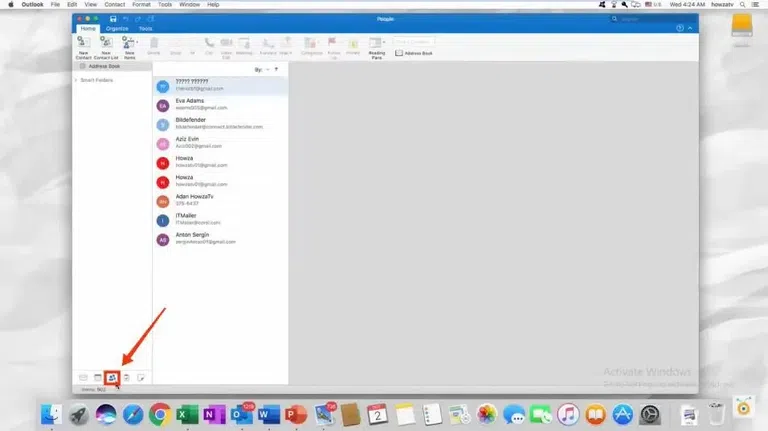 Click People icon
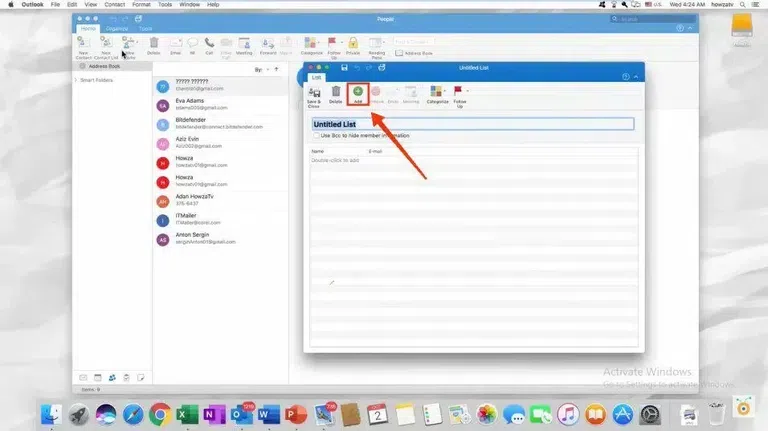
Click on the new contact list icon, which is present in the home panel at the top left corner of Microsoft Outlook.
Note: If the New Contact List option is grayed out, set your preferences to Show my "On My Computer" folders, and then return to finish creating your contact list.
 People Icon > Click on the New Contact List Icon
It's necessary to provide a name for your group. After that, click on the "Add (+)" icon to include members in your group.
- You can keep adding multiple people to your new group through the members’ box.
- You can add an existing list of contact emails to your new list.
 Create Email Groups In Outlook
Step 5: Select Save & Close
Once you have added members to your group by adding their names and email addresses, don't forget to click the Save button to ensure your changes are saved.
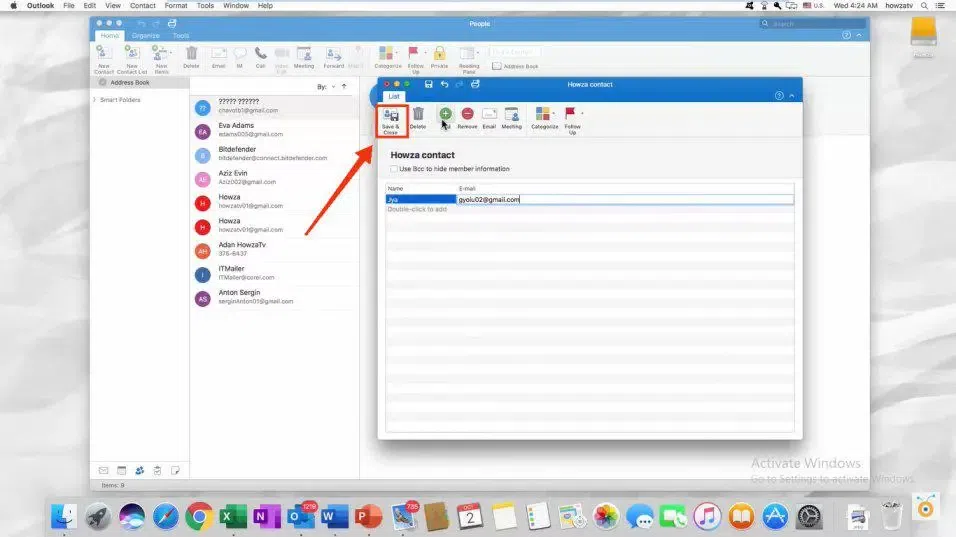 Click Save & Close
Step 6: Your Email Group is Created on Mac
Now your email group has been successfully created, enabling you to send emails to all the members by simply clicking on the email icon located in front of your group.
How to Create a Group Email in Outlook Web (Office 365)
Learn how to create an email group in Outlook's web version, the following steps will also assist, if you are looking to create a distribution list in outlook:
Step 1: Sign in to Outlook on the web
Sign in to https://outlook.office.com/mail/ and access the Microsoft Outlook web app.
After opening Outlook go to the home page and click on the New Group present on the left side of the page.
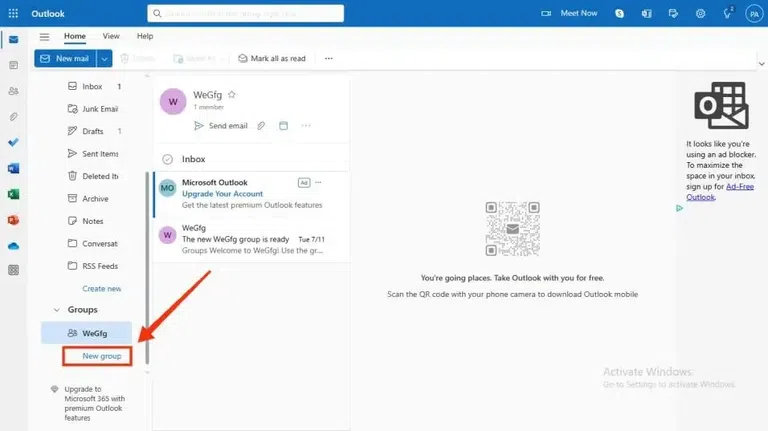 Click on New Group
Step 3: Name the Group and add the Description
Once the dialog box appears, enter the desired name for the contact group you wish to generate. In the description field, you can input the content of the group, followed by clicking on the "Create" button.
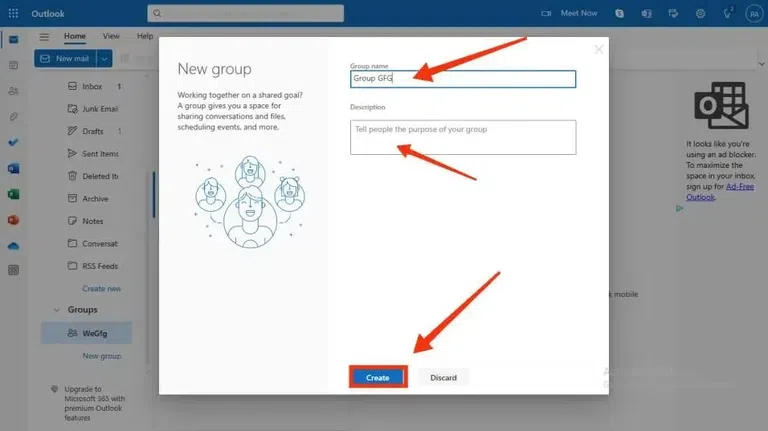 Name Group > Group Name> Add Description > Create
Step 4: Add members to your Group
Type in the email addresses or names of the contacts you want to add to the email group. Once you’ve selected contacts to add to the group, click on Add.
In case you are uncertain about the members' list, you have the option to omit this step and add members to your group at a later time.
 Select Members and Click on Add
 Step 5: Email Group on Outlook Web is Created
Your group email is now ready! You can send emails to the group anytime by typing its name in the "To" field of a new email.
 Your Email Group on Outlook Web is Created
Editing a contact group in Outlook is easy. Here’s how:
Open your contacts, locate the group you want to edit, and click on it.
Step 2: Open the Group
Double-click the group’s name to open its details in a new window.
 Find and Open the Group
 Step 3: Click on the Edit
Click the name field at the top and make any changes you want.
 Click on Edit
 Step 4: Edit Name
Click Add Members and select contacts from your address book, or type in new email addresses.
 Re
ReStep 5: Add Members
Click on the Add Members Icon to Add members to the Contact Group
 Click on Add Members
Step 6: Remove Members
Click a member's name from the list and choose Remove Member.
 Click on Remove Members
Step 7: Save Changes
Click Save & Close to keep your updates
If you no longer need a contact group, here’s how to delete it:
Locate and click the group you want to remove.
Step 2: Right-Click to Delete
Right-click on the group’s name, select Delete Group from the menu, and confirm by clicking Yes.
 Click on Delete Icon
Your group will be removed.
Conclusion
Setting up an email contact group in Office 365 is a simple yet powerful way to improve your team’s communication flow. By creating a group, you save time and ensure that all members receive important updates and messages without the hassle of manually adding each contact. Get started with your Office 365 group today, and enjoy a more streamlined way to stay connected and organized.
Explore
AI for Coding
AI for Image and Video
Research Using AI
MS Office Suite
Operating Systems & Tools
Management Tools